A Whisper of Light
With his lineup of Tamron wide-angle, all-in-one, and telephoto zoom lenses, Michael Gilbert creates portraits inspired by the old masters.
Share the article:
More Photo Tips | Video Gallery | Photo Gallery | Enewsletter sign-up
By Jenn Gidman
Images by Michael Gilbert
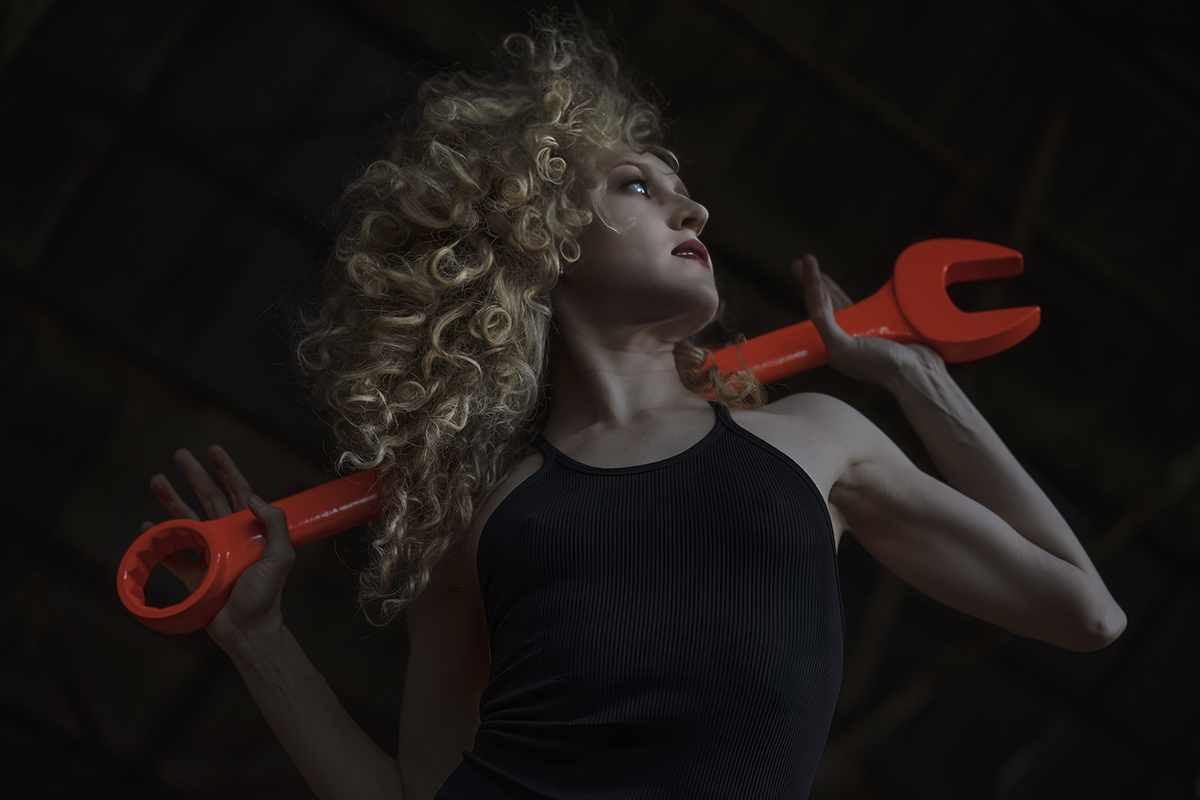
Whether he’s capturing a candid on the streets of Paris or crafting a more formal photo in his Maui studio, when Michael Gilbert creates a portrait, the lighting he’s working with receives top billing. “Lighting is the single most important ingredient when taking a photo,” he says. “It creates the illusion of depth, as well as adds luminosity, color, and movement. The entire mood and feel of your image will be elevated to a whole other level once you learn to ‘see’ the light.”
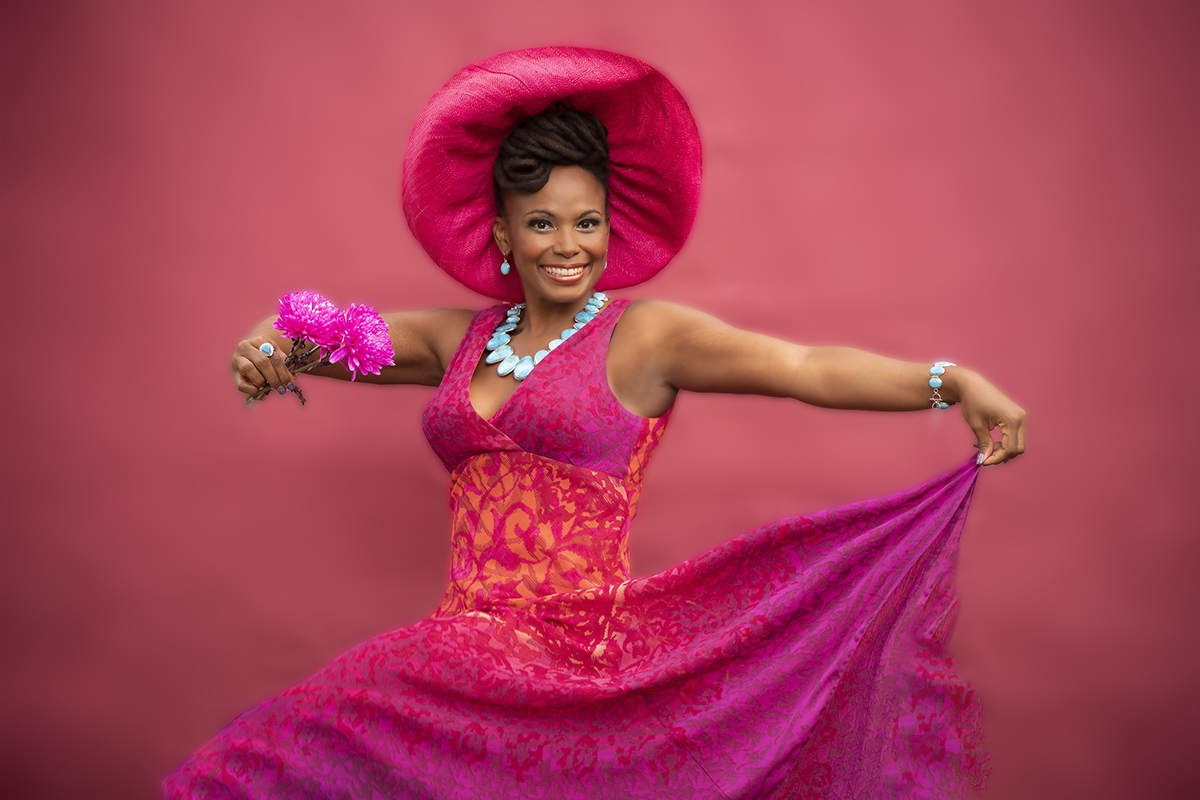
70-300mm (168mm), F5.6, 1/125 sec., ISO 400
Click image to view larger
To create his portraits, Michael taps into an ample Tamron lens lineup for his full-frame DSLR and Sony mirrorless camera systems, from the 17-28mm F/2.8 Di III RXD wide-angle and SP 24-70mm F/2.8 Di VC USD G2 standard zoom, to fast telephoto lenses like the 70-180mm F/2.8 Di III VXD, SP 70-200mm F/2.8 Di VC USD G2, and 70-300mm Di III RXD.
There are also Michael’s Tamron all-in-one zooms. “For a compact lens that has almost everything I need in one package, I rely on the 28-200mm F/2.8-5.6 Di III RXD for Sony,” he says. “I could take every portrait I ever wanted with just that one lens. And the 35-150mm F/2-2.8 Di III VXD—I call that the ‘velvet lens,’ because everything I shoot with it is so velvety smooth and impeccably sharp. Plus, being able to shoot at F/2 allows me to take photos with just a whisper of light available, like a match light flickering, or a crack through a door, or a streetlamp.”
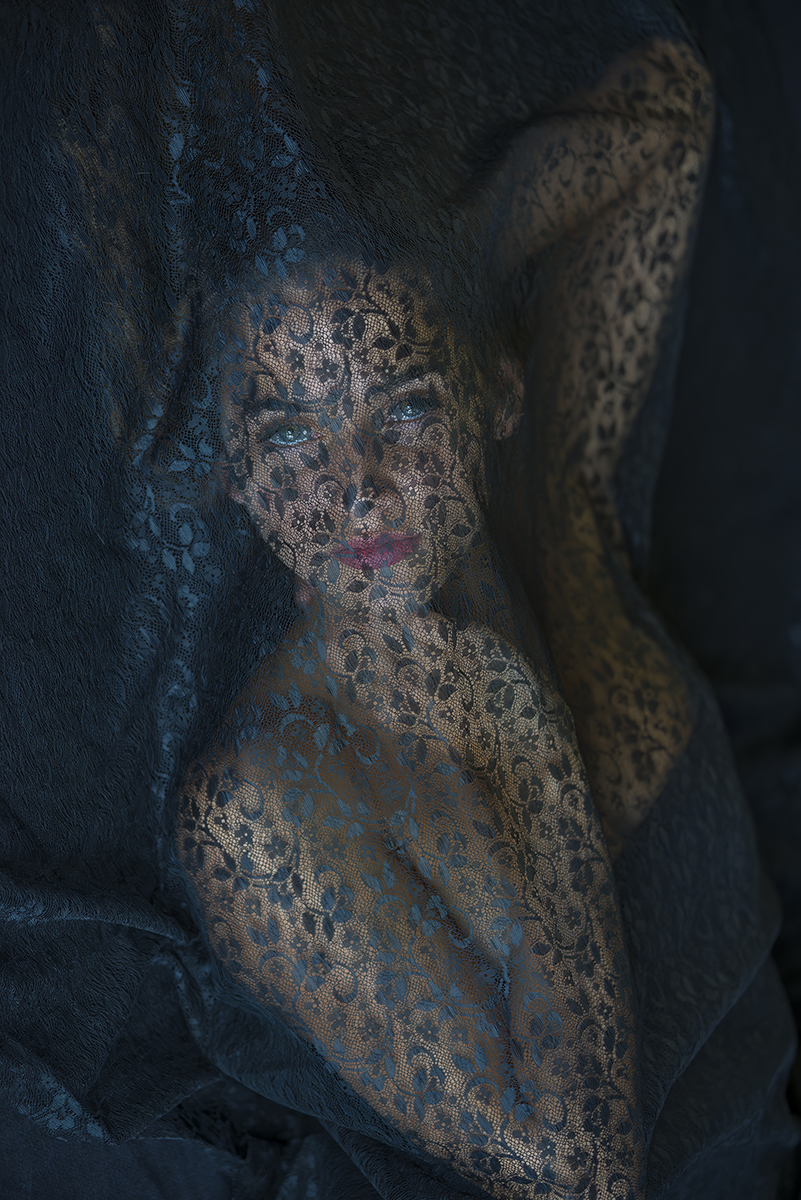
70-200mm (102mm), F3.2, 1/40 sec., ISO 100
Click image to view larger
Although every portrait requires slightly different lighting, Michael’s general approach traces its roots back to a mid-17th century painting. “If you examine Vermeer’s Girl Reading a Letter by an Open Window, first notice the girl’s reflection in the window,” he says. “Look at the smooth falloff of light, from highlight to shadow, with the soft gradation of tone creating a three-dimensional look. You’re visually drawn into the image as the color tone moves you from dark to light to dark again. A few shadows and the drapes on the right direct your vision, like a tunnel, to the brightest elements in the painting: her face, the tip of the letter, and her white collar, which reflects even more light into her face. If you can emulate an effect like that in your photos, you’re set.”
MICHAEL’S QUICK TIPS
Head to a museum.
One of the best ways to become familiar with lighting is to see how the old masters portrayed it in their paintings, much like the Vermeer I mentioned. Rembrandt is a great painter to check out, too. Study a favorite painting, then make your assignment immediately after that to create a portrait in that style. If you can’t make it to a museum in person, most museums have their art online to view in high resolution.
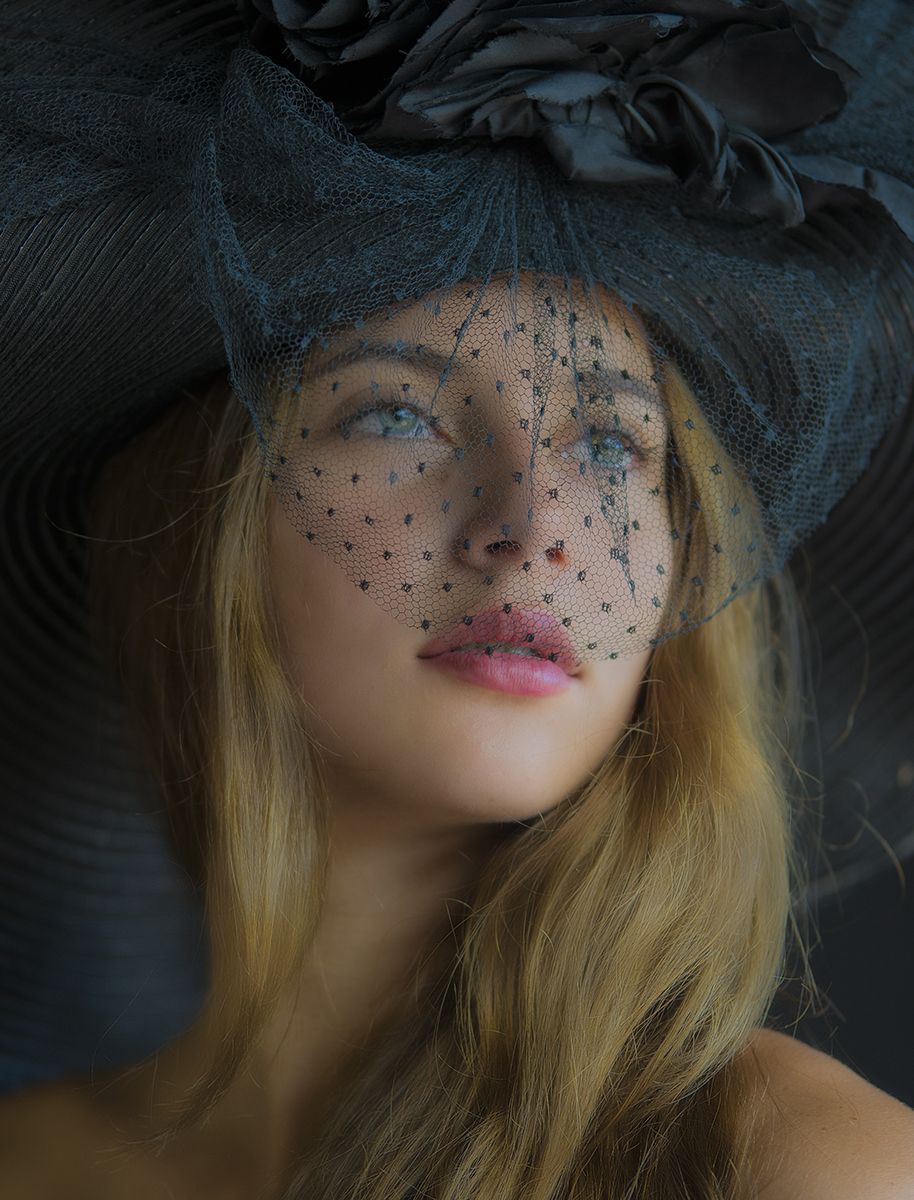
70-200mm (120mm), F2.8, 1/80 sec., ISO 400
Click image to view larger
Experiment with lower light levels.
Personally, I love tiny windows that bring in just a hint of light, especially now that we have the cameras that can capture it. I regularly use an ISO of 800 and higher. In fact, it’s not unusual for me to bump it up to 4,000, 8,000, even 20,000 in some cases and let the grain, or “noise,” add a bit of texture to the image.”
24-70mm (44mm), F2.8, 1/60 sec., ISO 500
Click image to view larger
Control light and shadow.
If you look very closely at your face in the mirror, you’ll notice that each side has a slightly different shape. For some people that might mean one eye is a little bigger than the other; for others, the jawline might be more pronounced on one side. So if I’m taking your photo for the first time, I’ll first put the light on your left side, then on your right, because the photo is likely going to look pretty different, depending on which side the light is on. If you’re more jowly, for instance, on the left side of your face, that’s the side where I’ll have the shadow come in. You can take care of all that in Photoshop, but I like to get ahead of the game in-camera by simply wielding light and shadow as a tool.
70-180mm (70mm), F2.8, 1/500 sec., ISO 400
Click image to view larger
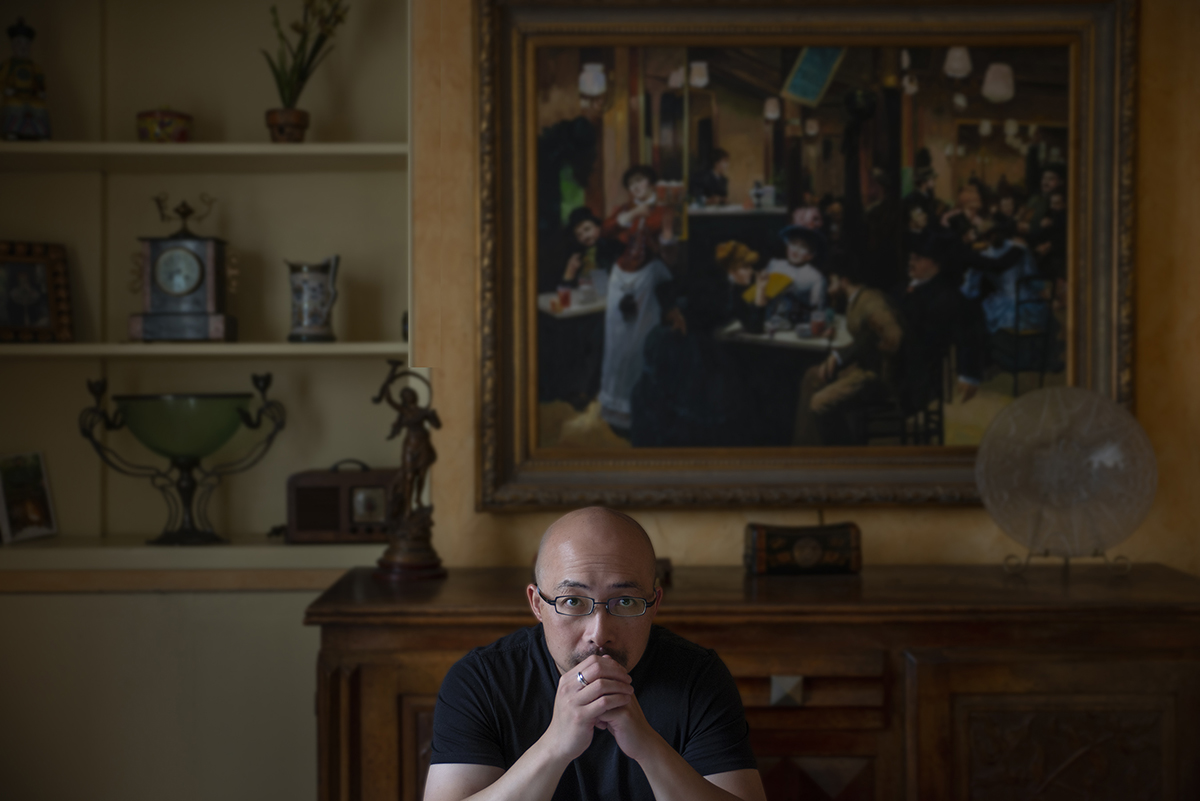
Default to the classics.
I used to love watching old black-and-white films, and what I most appreciated about that style of cinematography is how it wouldn’t blow out the highlights and muddy the shadows to black. I like when you can see the light source, and then watch the light move smoothly across the screen. I try to do the same in my photos.
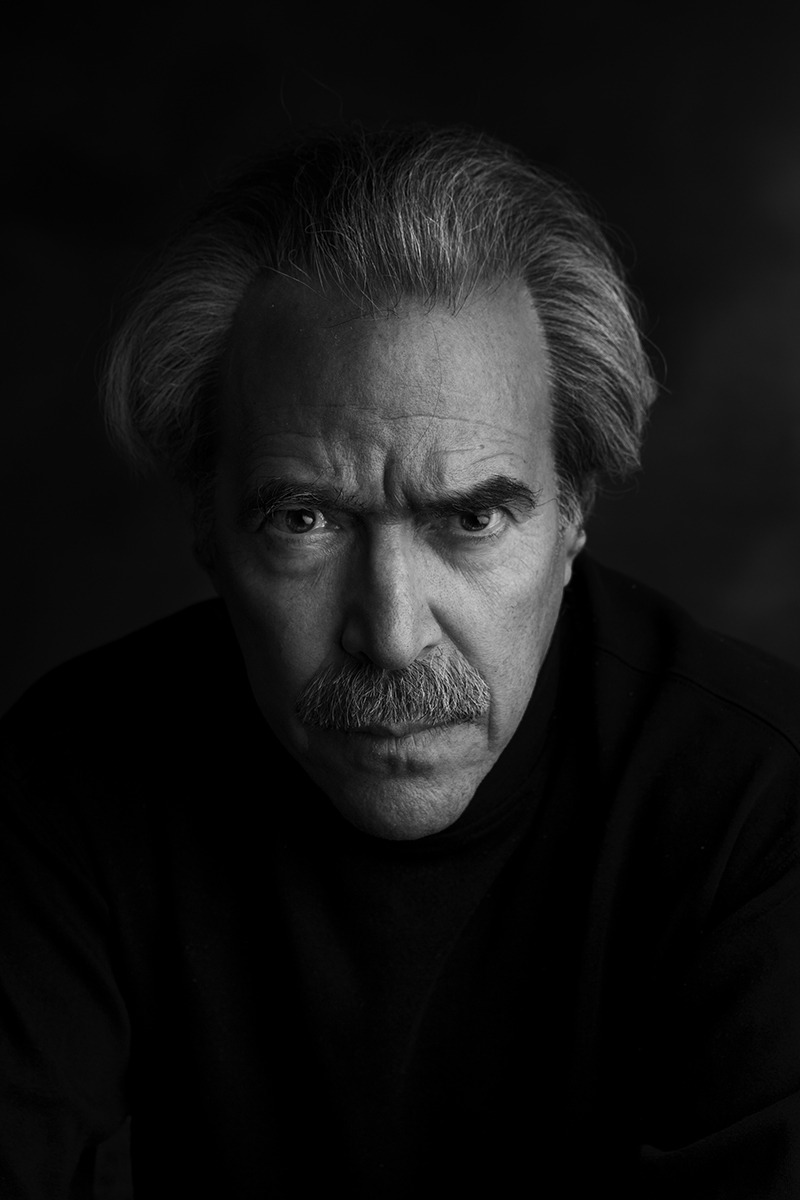
24-70mm (67mm), F8, 1/200 sec., ISO 100
Click image to view larger
To see more of Michael Gilbert’s images, check out his Facebook and Instagram.
More Photo Tips | Watch Videos | Learn More About Tamron Lenses | Photo Gallery