Tamron Blogs
More Photo Tips | Video Gallery | Photo Gallery | Enewsletter sign-up
How to: Tamron Pro Tips For Portrait Photography Lighting with Character
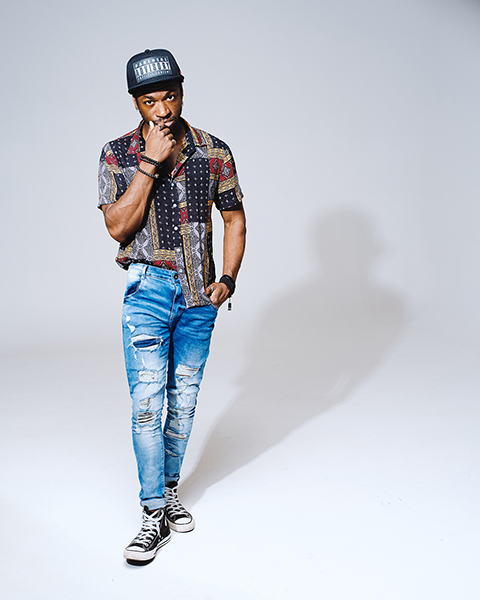
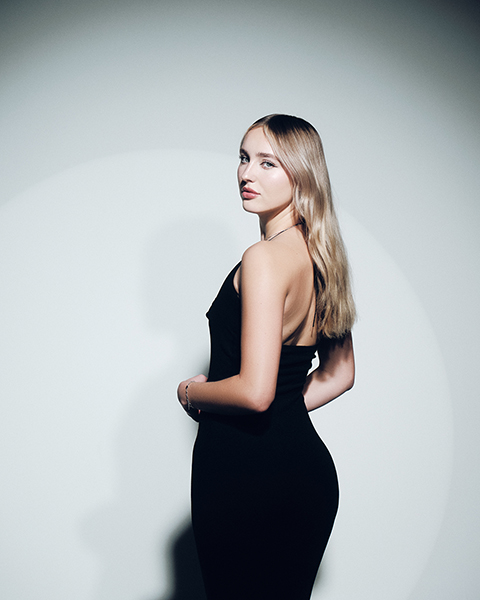
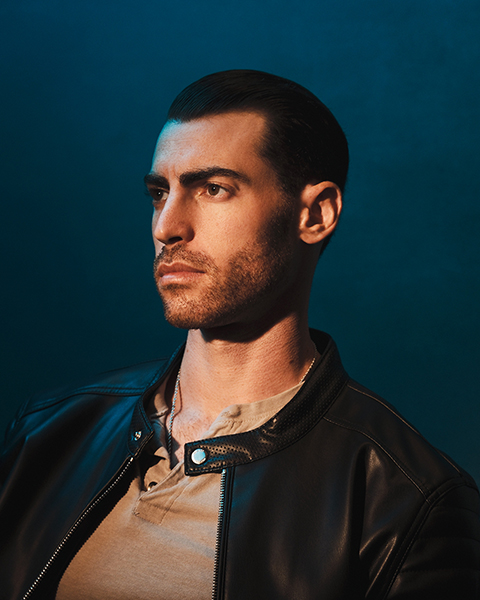
Tip #1) SHAPE WITH HARD LIGHT. I remember first learning about portraiture and I was always told to use big soft light to flatter subjects. While this method is true in a lot of cases, you can have a lot of fun and chisel your subject with hard light. The features and shadows become crisp, making your subject almost pop out more. Don’t be afraid of hard light. Start practicing harnessing it!
© Nader Abushhab
Click image to view larger
© Nader Abushhab
Click image to view larger
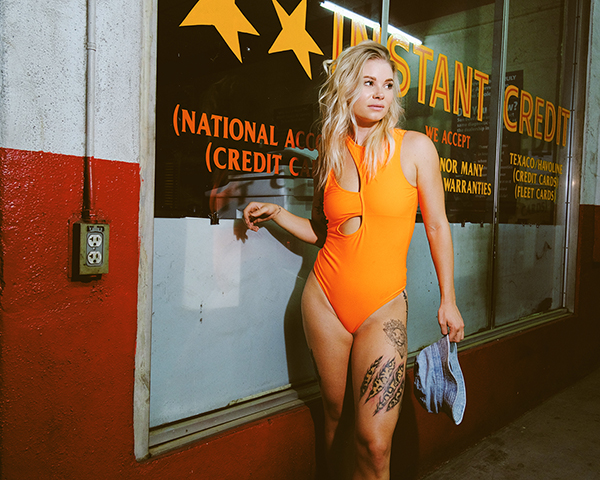
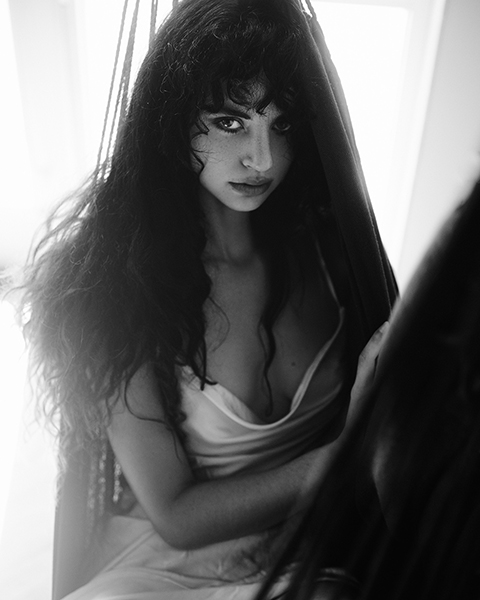
Tip #2) BALANCE YOUR AMBIENT WHEN LIGHTING. Balance is the name of the game in lighting. Our eyes can immediately tell when lighting is off balance. If you’re going for an unmotivated or artificial looking style of lighting, it can look great! But, if you’re trying to keep the character of the environment that you’re in, you must practice balancing light. Start with finding your ambient exposure. Underexposing adds drama to your key lights, ultimately bringing out the subjects more but border on the unnatural feeling. Overexposing (but not overdoing it) can lead to bright and airy images. Lastly, exposing your ambient light in a neutral way can really help tell the story of the environment your subject is in. Practice seeing how your ambient exposure feels before adding lights to your subject.
© Nader Abushhab
Click image to view larger
© Nader Abushhab
Click image to view larger
Tip #3) COLOR GRADE IN-CAMERA. This one is fun. Whether you use gels or manipulate your white balance, you can create a color grade in your images before they even touch your editing software of choice. It’s easy enough to explain with gels. Adjust your key light so that it’s more powerful than your gelled light. You’ll notice that the shadows cast by your key light will take on the color of your gelled light. It’s pretty cool and it can be used for all sorts of creative effects, especially with the range of colors in RGB lights! The next and slightly more challenging method is doing something similar with white balance. This is totally one of those scenarios where we must know the rules and then we can break them. If we’re using an ungelled strobe, we need to set our white balance to 5500K. If we’re shooting in shade, we need to set our white balance to 7500K. What about indoor tungsten bulbs? Well. that’s 3200K. Candles? 2000K. These are the numbers for “correct” white balance in these scenarios. Our ambient environments are going to have their own white balance that we can either match our lights to or use to manipulate tones in the image. Here’s the cool part! You can take a subject and put them in a room with candles (2000K) or tungsten lamps (3200K) and bring in a strobe (5500K). From here, bring up the ambient exposure in your camera and start using the strobe to light your subject. With your camera’s white balance set for your strobe at 5500K, your subject will have correct white balance while your background and ambient lights will take on warmer orange tones. This works the same way in shade or blue hour as well, but opposite. The ambient tones will take on a cooler blue look. The trick with either is to control your key light. Anything your key light hits will be neutral at 5500K, so avoid letting your light spill on anything but your subject to get the best effect.
© Nader Abushhab
Click image to view larger
More Photo Tips | Watch Videos | Learn More About Tamron Lenses | Photo Gallery