Post-Processing Techniques for Stunning Long Exposure Photography
Share the article:
More Photo Tips | Video Gallery | Photo Gallery | Enewsletter sign-up
• Learn about the best software options for editing long exposure photography, including Lightroom, Photoshop, and affordable alternatives.
• Understand key post-processing techniques such as exposure adjustment, noise reduction, and color correction to enhance your photos.
• Discover advanced methods like image stacking and HDR effects to further refine and elevate your long exposure photography.
Long exposure photography captures the passage of time in a single frame, creating stunning visual effects that can transform ordinary scenes into extraordinary images.
However, achieving the perfect shot often requires more than just camera settings and composition. Post-processing plays an important role in refining these images, bringing out their full potential. Let’s explore essential post-processing techniques to enhance your long exposure photography and make sure your photos look polished and professional.
Recommended Software for Editing Long Exposure Images
To achieve the best results in post-processing, using high-quality editing software is essential. Adobe Lightroom and Photoshop are highly recommended for their robust tools and versatility. Lightroom is excellent for managing and making global adjustments to your photos, including exposure, color balance, and cropping. Photoshop offers advanced editing capabilities for more intricate modifications like retouching, layer adjustments, and creating composites. Both programs support non-destructive editing, allowing you to experiment freely without permanently altering your original images.
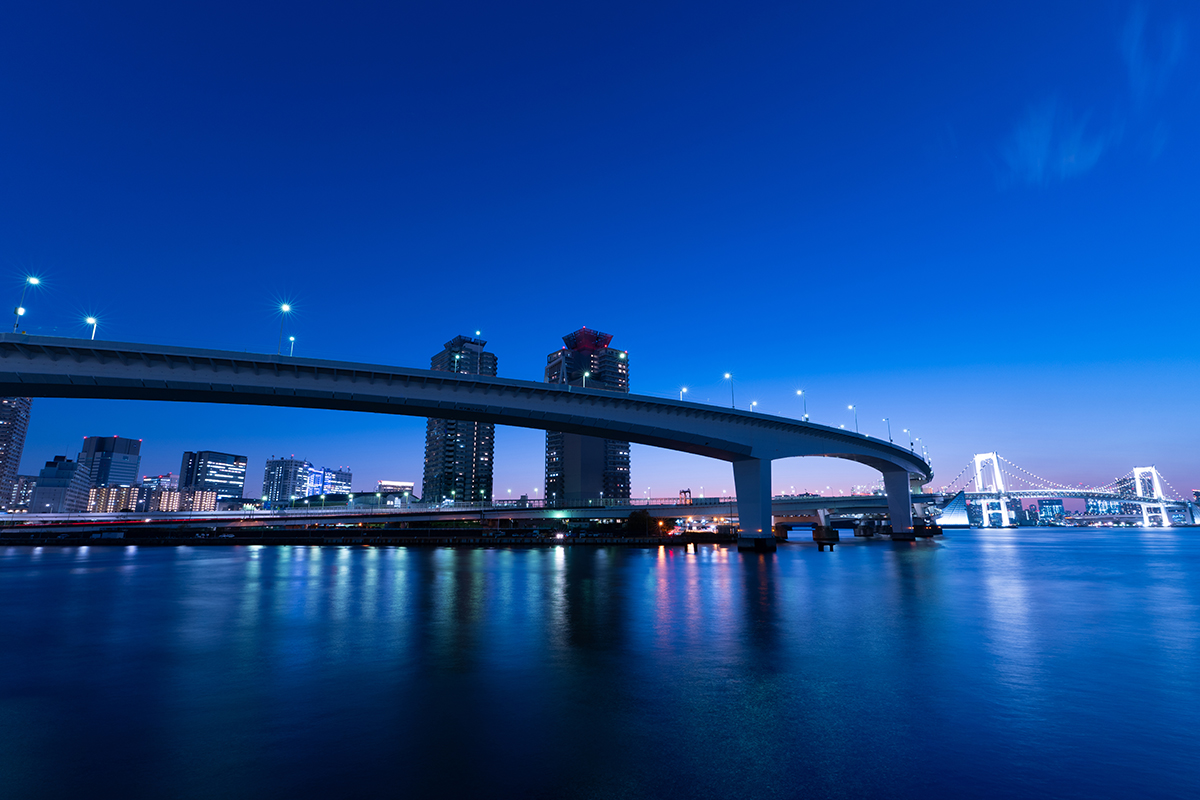
© Takuya Iwasaki
Lens: 17-50mm F4 Di III VXD
Focal Length: 17mm Exposure: 20 sec., f/11, ISO 100
Click image to view larger
For those on a budget, software like GIMP and Darktable can be good alternatives, offering many similar features at no cost. Additionally, Affinity Photo is another affordable option that provides powerful tools comparable to Photoshop, making it a great choice for photographers looking to expand their editing toolkit without breaking the bank.
Basic Editing Techniques
Exposure Adjustment: Adjusting exposure is critical for long exposure photography as it ensures the image's brightness is well-balanced. In Lightroom, you can use the exposure slider to increase or decrease the overall brightness of the photo. In Photoshop, the levels or curves adjustments offer more control over specific tonal ranges.
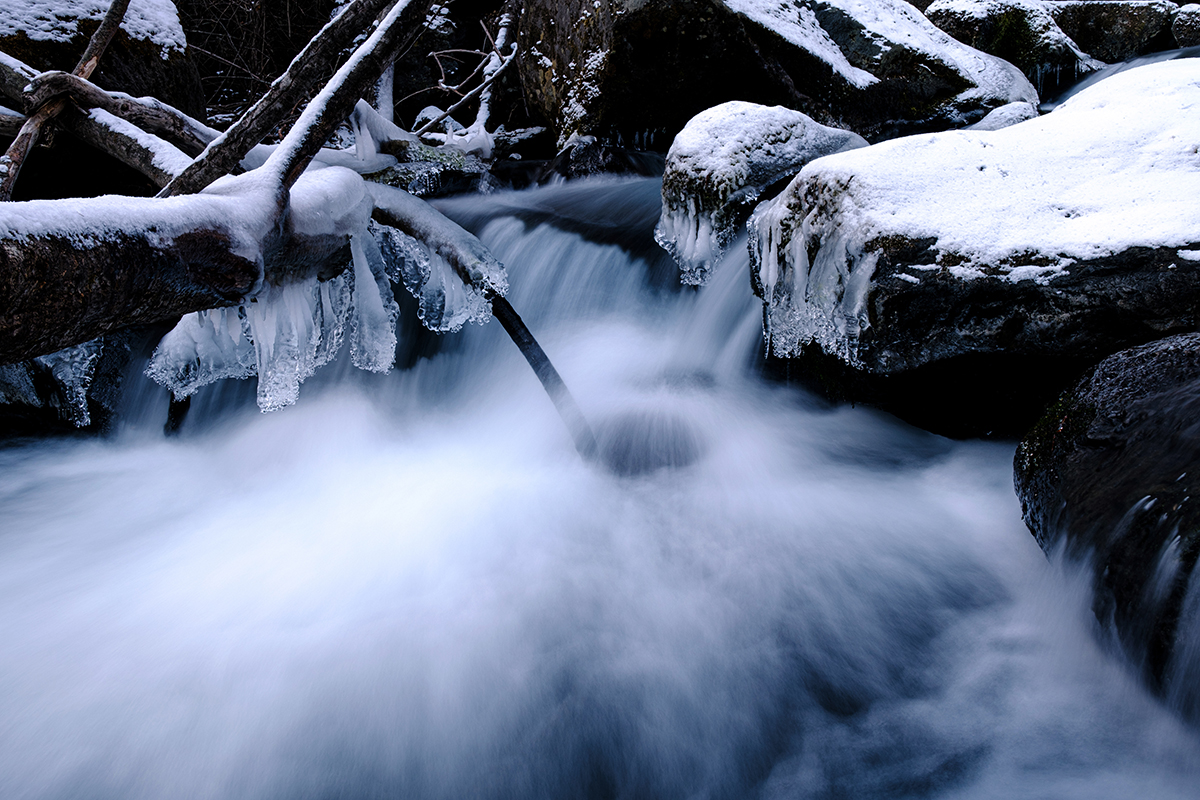
© Shinichi Hanawa
Lens: 11-20mm F2.8 Di III-A RXD
Focal Length: 20mm Exposure: 1.7 sec., f/10, ISO 64
Click image to view larger
Noise Reduction: Long exposure photography often introduces noise, especially in low-light conditions. Noise appears as random speckles of color or grain in the image. Lightroom's noise reduction tool is highly effective; it can be found under the detail panel. Photoshop also offers powerful noise reduction filters, like the reduce noise filter, which can be accessed through Filter › Noise › Reduce Noise.
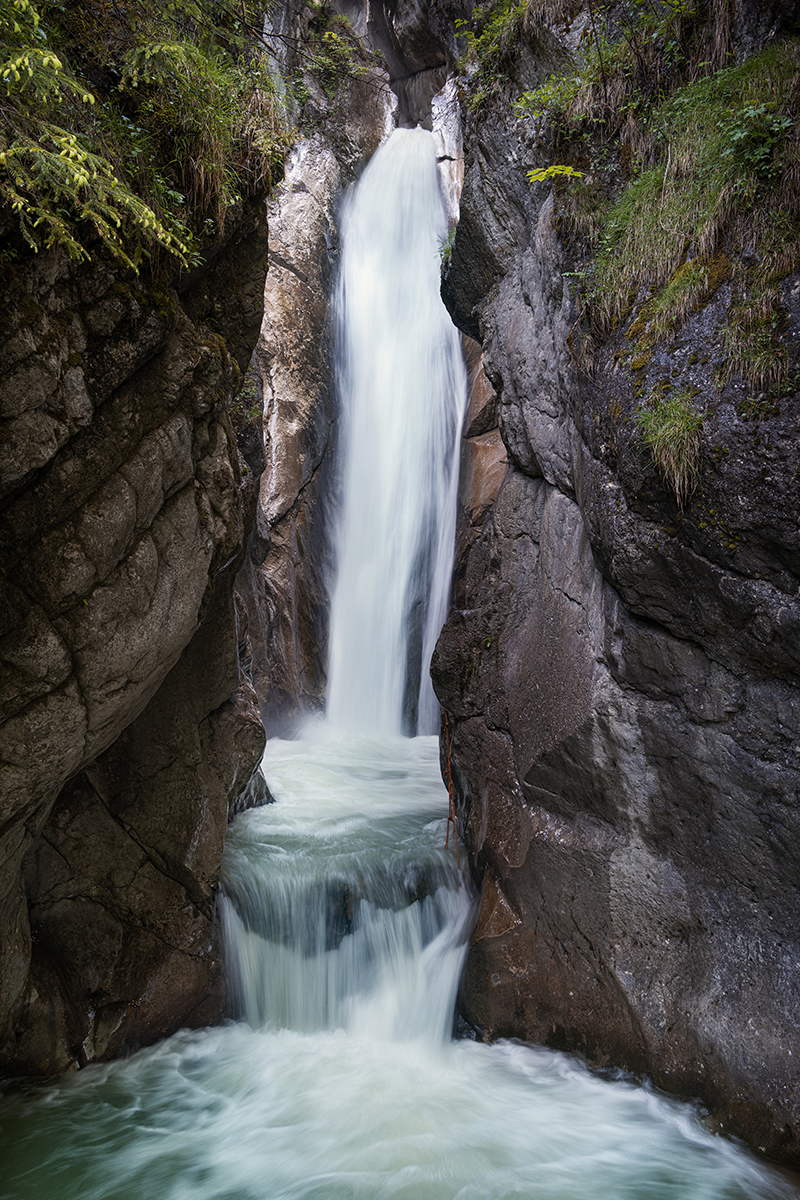
© Philip Ruopp
Lens: 28-200mm F2.8-5.6 Di III RXD
Focal Length: 28mm Exposure: 1/5 sec., f/10, ISO 100
Click image to view larger
Color Correction: Accurate color correction ensures your photos look natural and vibrant. In long exposure photography, colors can sometimes appear washed out or overly saturated. Use Lightroom’s white balance tool to correct any color cast. Photoshop provides advanced tools like color balance adjustment to fine-tune the hues.
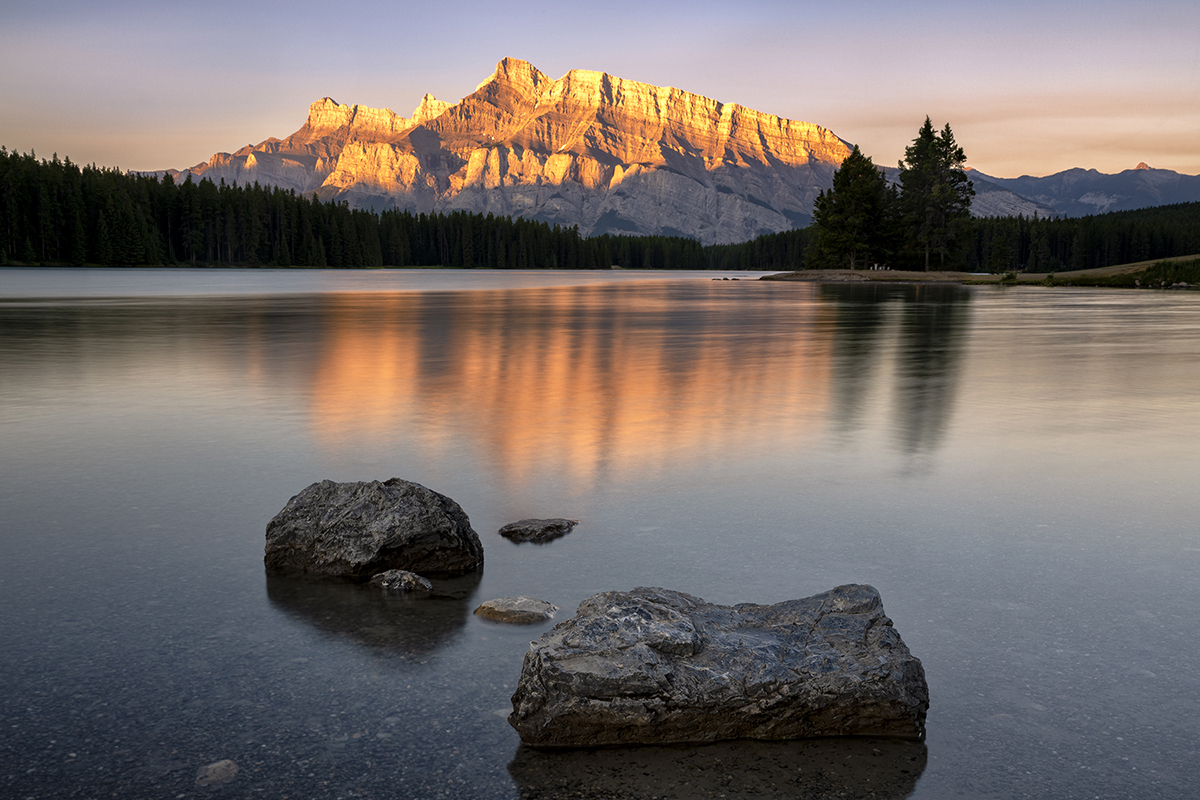
© Ken Hubbard
Lens: 20-40mm F/2.8 Di III VXD
Focal Length: 36mm Exposure: 8 sec., f/22, ISO 100
Click image to view larger
Advanced Editing Techniques
Stacking Images: Stacking images is a technique used to reduce noise and enhance details in long exposure photography. By combining multiple exposures, you can create a cleaner and sharper final image. In Photoshop, you can stack images by opening the photos as layers, then using the auto-align layers feature followed by auto-blend layers set to stack images. This process effectively merges the best parts of each exposure, minimizing noise and maximizing detail.
Creating HDR Effects: High Dynamic Range (HDR) photography involves combining multiple images taken at different exposure levels to create a single photo with a greater range of luminosity. For long exposure photography, HDR can help in capturing both bright and dark areas in a scene without losing detail. In Lightroom, you can create HDR images by selecting your photos, right-clicking, and choosing photo merge" › "HDR." Photoshop also allows HDR creation through file › automate › merge to HDR pro, providing more advanced options for fine-tuning the HDR effect.
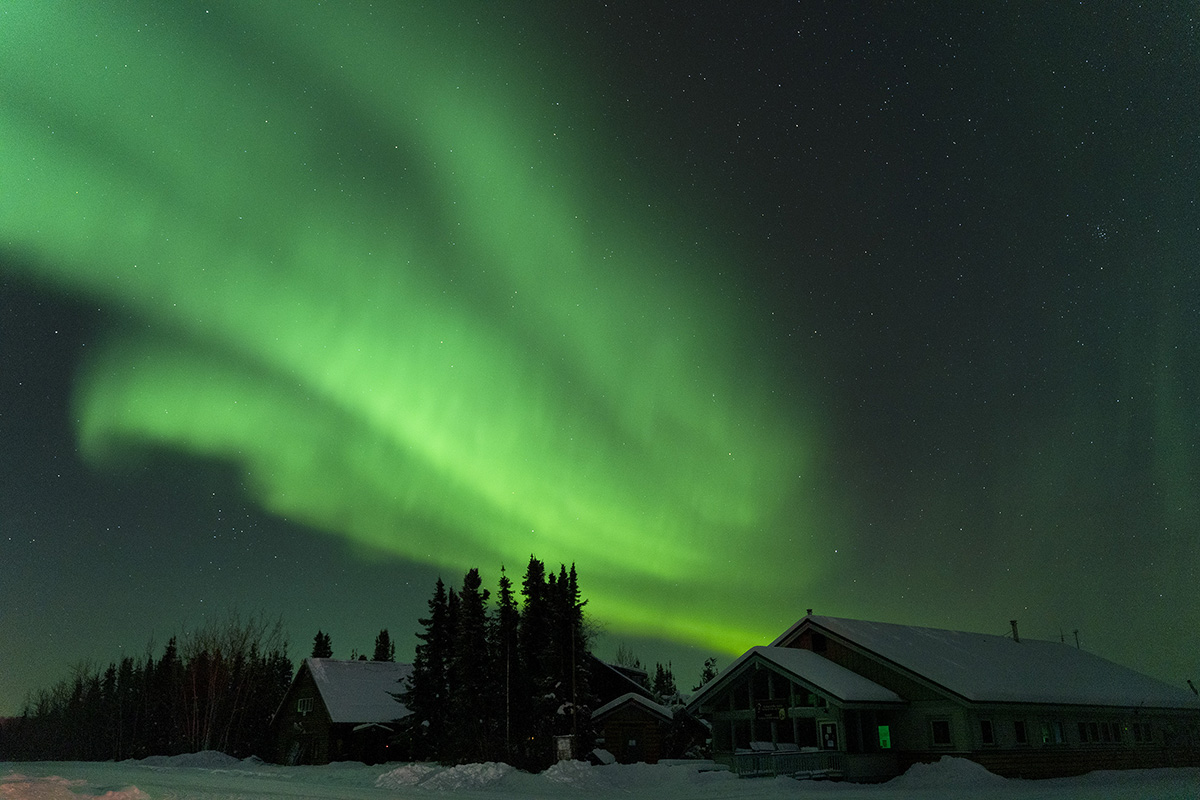
© Ken Hubbard
Lens: 28-75mm F/2.8 Di III VXD G2
Focal Length: 28mm Exposure: 3.2 sec., f/2.8, ISO 3200
Click image to view larger
By mastering post-processing techniques like exposure adjustment, noise reduction, color correction, stacking, and HDR effects, you can elevate your long exposure photography to new heights. These tools and methods help ensure your photos look polished and professional. Experiment with these techniques to discover your unique style and make your long time exposure photography truly stand out.
More Photo Tips | Watch Videos | Learn More About Tamron Lenses | Photo Gallery